
How to Install Node.js on Windows and Ubuntu: A Step-by-Step Guide

Hi! In this guide, I’ll explain what Node.js is and how to install it.
What Is Node.js?
Node.js is a JavaScript runtime that lets you run JavaScript code outside a web browser, on a server. This means you can build websites and web applications with JavaScript and run them on your server using Node.js. It also makes it possible to create fast, efficient server-side applications that can handle many requests at once.
Node.js provides convenient tools for working with networks, files, and other input/output operations, making it a great choice for building the server side of web applications. It supports a wide range of modules (libraries) and has a large, active community that regularly develops new tools and extensions to make developers’ work easier.
With Node.js, you can build many types of web applications, including social networks, online stores, blogs, and chat apps. It’s also well suited to building web services that provide data to mobile and other client applications. Node.js stands out for its performance and the ease with which applications can be scaled to handle high request volumes. That’s why it’s a popular choice for building modern, fast, and efficient web applications.
Node.js uses JavaScript as its programming language. You write Node.js applications in JavaScript, which is convenient because you can use the same language for both the client-side and server-side parts of a web application.
How to Install Node.js on Windows
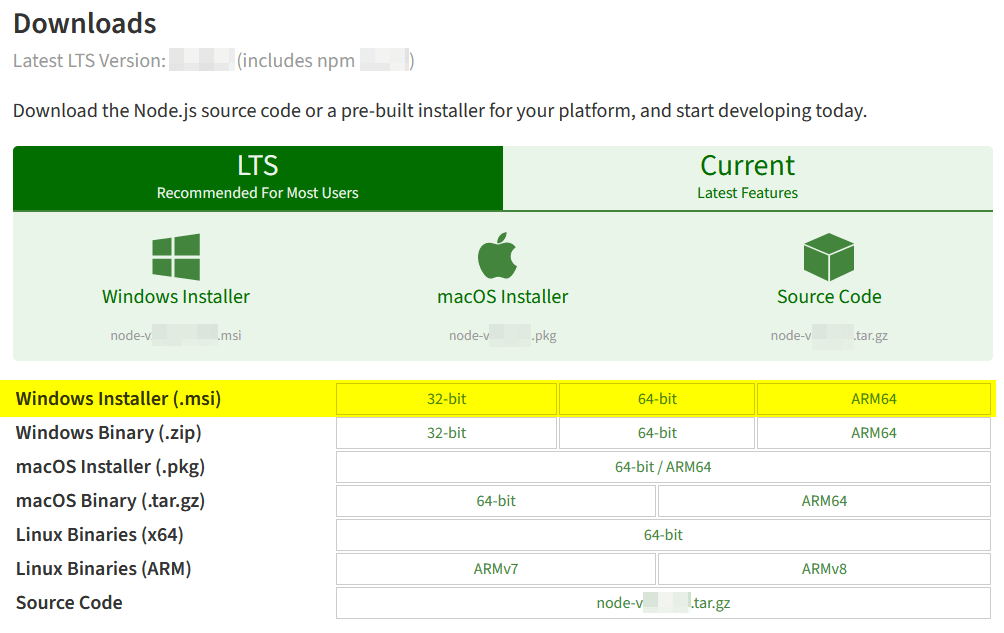
- Go to https://nodejs.org/en/download. Next to Windows Installer (.msi), click 64-bit and download the installer to your computer.
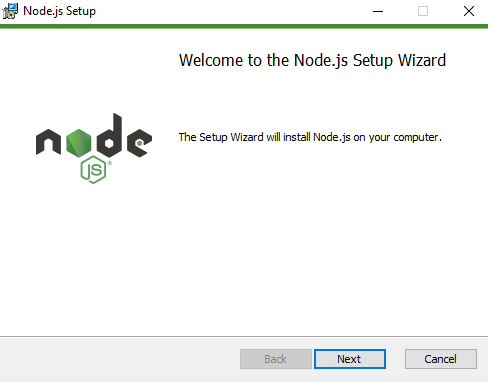
- Run the downloaded file and click Next to continue with the installation.
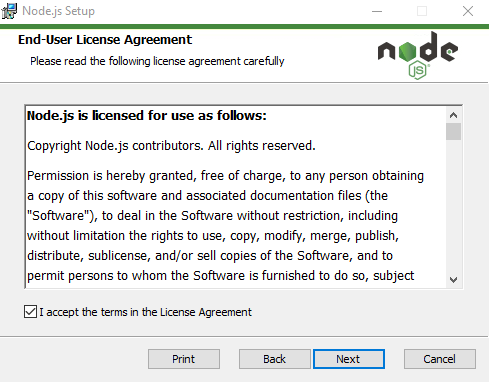
- On the next screen, accept the license agreement and click Next.
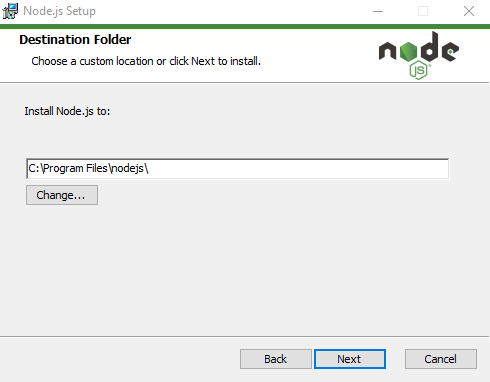
- Choose the folder where the main program files will be installed, then continue to the next step.
- The installer will show the list of components to be installed. I recommend leaving the default options as they are and continuing to the next step.
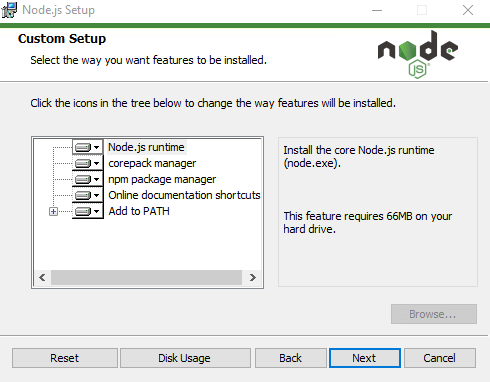
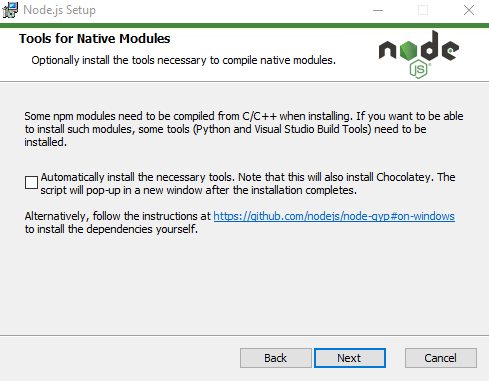
- The installer will then offer to install additional tools. You can skip this step.
- Click Install to start installing the program and copying its files.
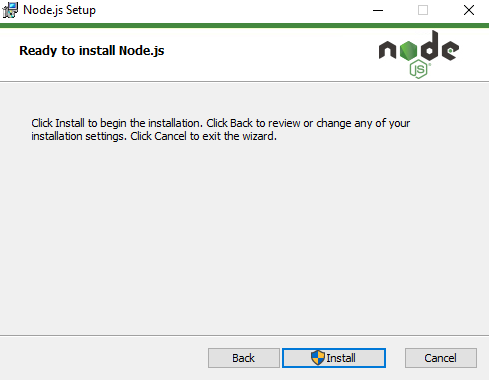
If the message “Do you want to allow this app to make changes to your device?” appears, click Yes.
- When the installation completes successfully, you’ll see a confirmation message. Click Finish.
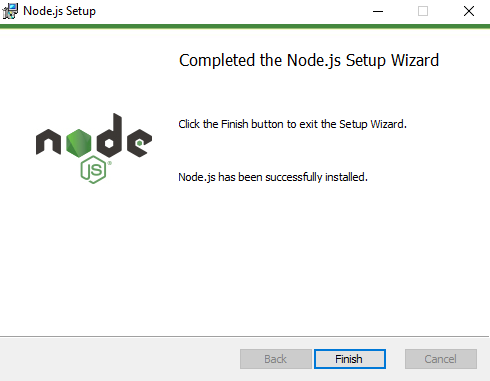
Node.js is now installed, and its modules are ready to use.
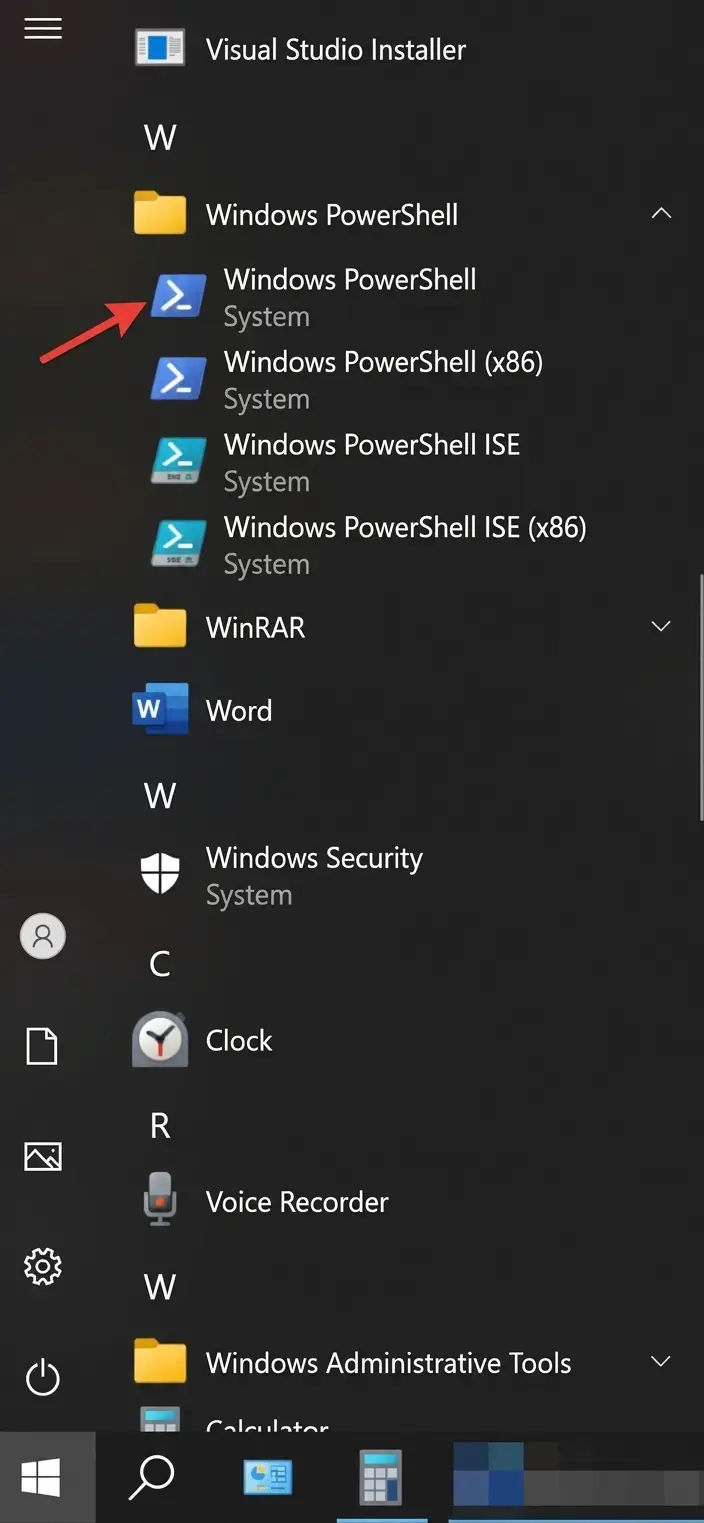
To verify the installation, search for and open Windows PowerShell from the Windows Start menu.
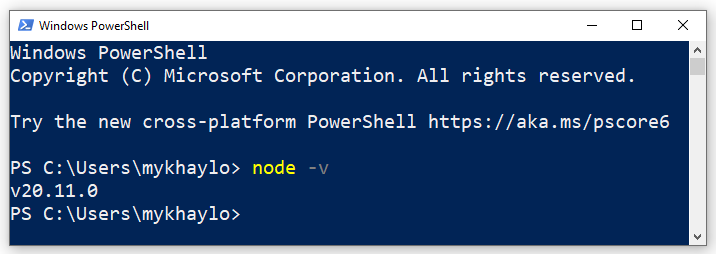
At the command prompt, run:
node -vThe command will display the installed version of Node.js.
npm (Node Package Manager) is a package manager for JavaScript. It is installed by default along with Node.js.
How to Install Node.js on Ubuntu
First, find the current Node.js LTS version and note its major version—the number before the first dot. On the official website at https://nodejs.org/en, look for a version marked LTS, such as 20.11.1 LTS.
Run the following commands one at a time in the terminal:
sudo apt install curl
curl -fsSL https://deb.nodesource.com/setup_20.x | sudo -E bash -
sudo apt-get install nodejs -y
In the second command, replace “20” with the major version number (the number before the dot) of the Node.js version you found.

